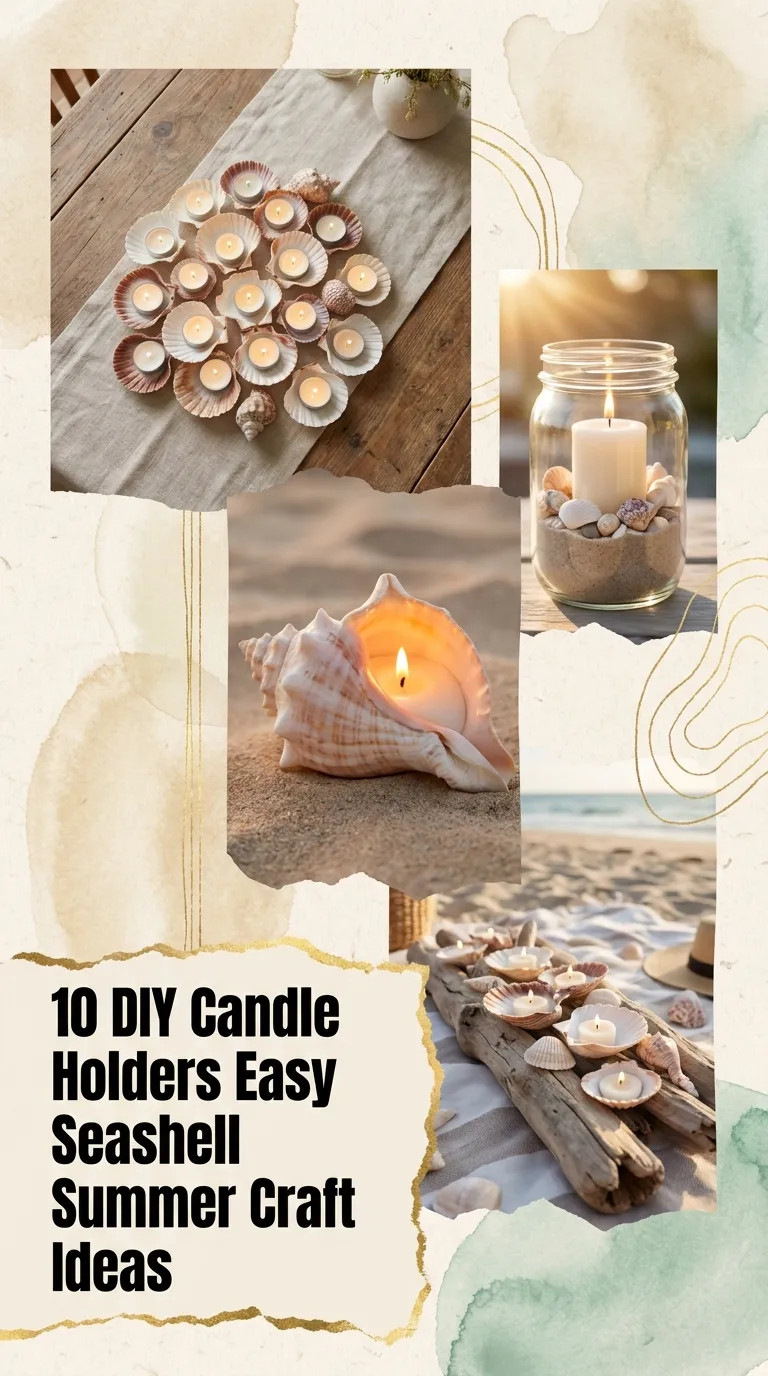
Summer brings sun-drenched beach trips, salty breezes, and pockets full of ocean treasures. If you have collected a stash of clam shells, scallop plates, spiraled conches, and oyster halves, transform them into functional coastal home decor. Seashell candle holders bring warm, ambient light and a relaxed seaside aesthetic to outdoor dining tables, patio setups, and cozy interior corners.
Here is how to prep your shells, craft 10 easy DIY seashell candle holders, and light up your home this summer.
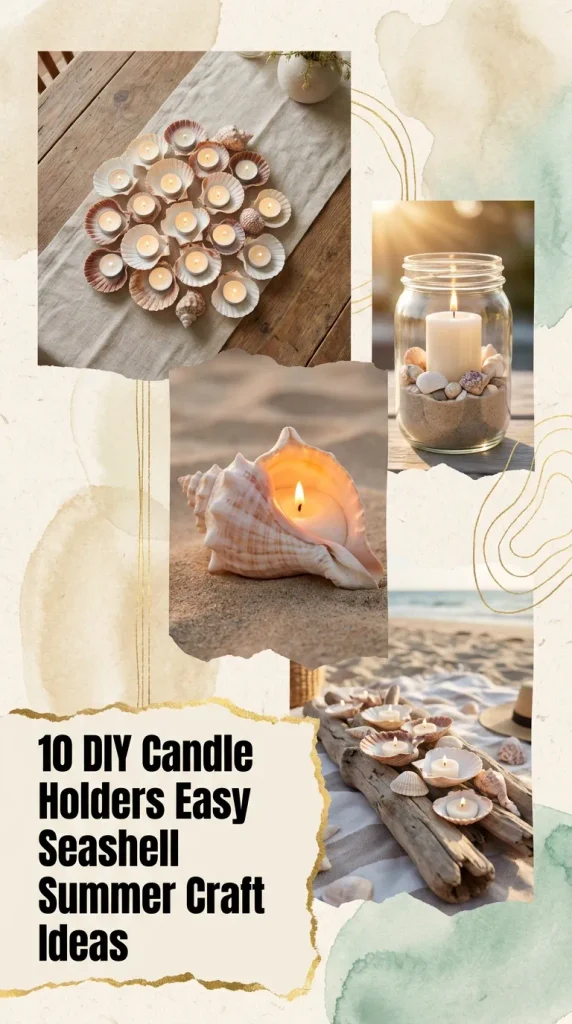
1. Poured Wax Clamshell Tealights
Deep bivalve shells like ocean quahogs and sea scallops act as natural, heat-resistant wax reservoirs.
- Materials: Large scallop or clamshells, soy wax flakes, pre-tabbed cotton wicks, adhesive wick stickers, essential oils (such as coconut or bergamot).
- How to Make: Secure a wick tab to the deepest point of the clean shell using a glue dot. Melt soy wax flakes in a heat-safe pouring pitcher using a double boiler. Once melted to around 135°F (57°C), stir in your favorite summer fragrance oil. Carefully pour the liquid wax into the shell, leaving a slight rim at the edges. Support the shells level using small balls of aluminum foil or egg carton slots until the wax fully hardens.
- Styling Tip: Arrange three to five shell candles across a wooden platter for a relaxed centerpiece.

2. Mosaic Mason Jar Shell Lantern
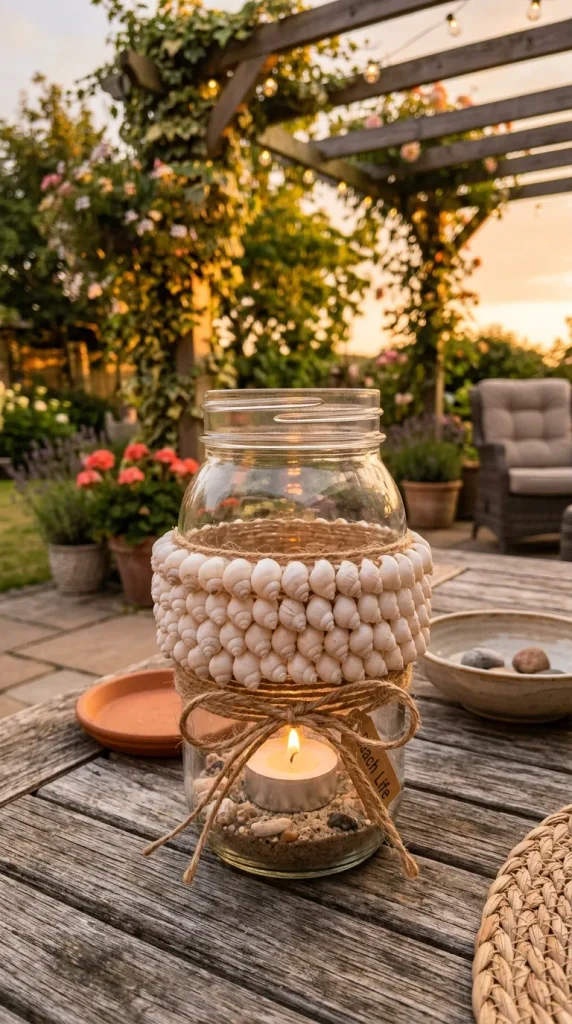
Give simple glass canning jars a textured, nautical makeover by layering uniform small shells around the perimeter.
- Materials: Pint-sized mason jars, small coquina or auger shells, heavy-duty craft glue (E6000 or hot glue), natural jute twine, tealight candles.
- How to Make: Start from the bottom of the jar and apply a small dab of adhesive to the back of each shell, pressing it firmly against the glass. Work in concentric horizontal rows upward, alternating shell shapes or colors to create a natural mosaic pattern. Wrap thick jute twine tightly around the threaded screw rim and tie it off with a knot. Drop a standard or battery-operated tealight inside.
- Styling Tip: Hang these lanterns from shepherd’s hooks in your garden or line them along an outdoor patio walkway.
3. Submerged Shell & Floating Candle Cylinder
Water amplifies light, magnifies shell details, and creates a tranquil spa atmosphere with zero messy glue work.
- Materials: Tall cylindrical clear glass vases, white floating disc candles, distilled water, assorted polished shells, sea glass.
- How to Make: Fill the bottom third of the glass cylinder with rinsed shells, polished sea glass, and small pebbles. Gently pour room-temperature distilled water into the vase, leaving roughly two inches of space at the top. Rest a wide disc floating candle gently on the water surface and light the wick.
- Styling Tip: Cluster three vases of varying heights together on a dining table to create depth and visual interest.
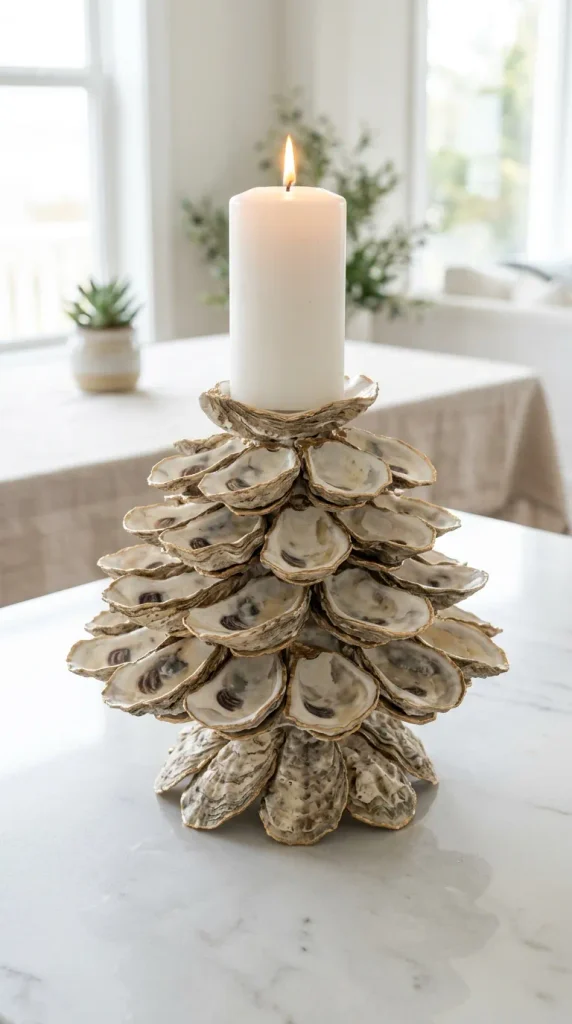
4. Tiered Oyster Shell Pillar Pedestal
Layered oyster shells mimic the petals of a blooming sea flower, providing a textured base for substantial pillar candles.
- Materials: Wooden disc or round cork coaster (4–6 inch diameter), curved oyster shells, strong hot glue gun, 3-inch wide pillar candle.
- How to Make: Place your pillar candle in the center of the wooden base and draw a pencil outline around it to mark the candle zone. Glue a base ring of larger oyster shells radiating outward along the perimeter of the coaster. Glue a second, smaller ring of oyster shells slightly overlapping the first layer, angling them inward to cup the center space. Set your pillar candle in the designated center.
- Styling Tip: Spray paint the interior rims of the oyster shells with metallic gold acrylic paint for extra elegance.

5. Sand & Shell Hurricane Lantern
This classic coastal staple takes less than five minutes to build and brings an effortless resort look to any tabletop.
- Materials: Wide glass hurricane cylinder, fine beach sand or white decorative sand, assorted medium shells (cockles, limpets, sand dollars), thick white pillar candle.
- How to Make: Pour 2 to 3 inches of dry, clean sand into the bottom of the hurricane glass. Press the base of a pillar candle firmly into the center of the sand so it stands straight. Scatter decorative shells around the base of the candle, nesting them lightly into the sand.
- Styling Tip: Mix in dried sea star accents or bits of tumbled driftwood for a beachcomber vibe.

6. Inverted Wine Glass Coastal Candlesticks
Transform everyday stemmed wine glasses into tiered pedestals using gravity and sea treasures.
- Materials: Stemmed wine glasses, sturdy cardstock, hot glue, small sea shells, taper candles.
- How to Make: Trace the rim of the wine glass onto cardstock and cut out the circle. Fill the bowl of the wine glass with miniature shells. Run a bead of hot glue along the glass rim and press the cardstock circle firmly over the opening to seal the shells inside. Flip the glass upside down so the flat circular base sits on top. Affix a taper candle to the top using a drop of melted wax.
- Styling Tip: Use three wine glasses with different stem heights to create a striking mantel display.
7. Gilded Scallop Edge Trinket Candle
A touch of liquid gold leaf elevates rustic beach findings into high-end, luxury boutique decor.
- Materials: Deep sea scallop shells, liquid gold leaf paint or gold leaf foil, small detail paintbrush, beeswax pellets, pre-waxed wicks.
- How to Make: Paint a thin, deliberate 1/4-inch border of liquid gold leaf around the outer scalloped edges of the shell and let it cure completely. Anchor a pre-waxed wick in the shell base. Melt natural beeswax and pour it carefully into the gilded shell. Trim the wick to 1/4 inch once solid.
- Styling Tip: Set these on a bedside nightstand or vanity tray as decorative accent lighting.
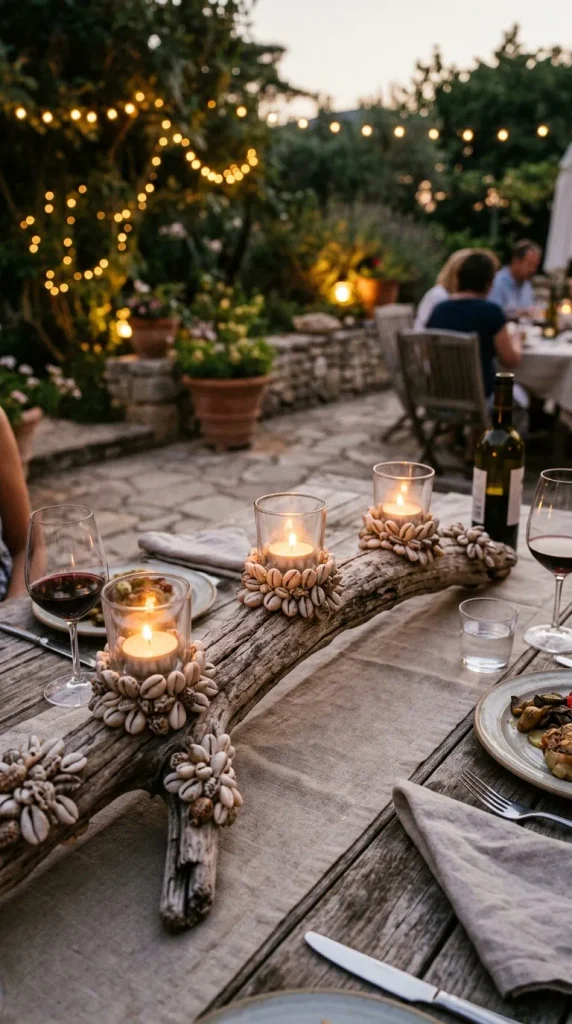
8. Driftwood & Cowrie Shell Trough Candle
Combining weathered driftwood with smooth cowrie shells balances rustic textures with glossy organic accents.
- Materials: Flat piece of ocean driftwood or shallow wooden dough bowl, sliced cowrie shells, craft adhesive, multiple small votive cups or tealights.
- How to Make: Sand the top of your driftwood branch slightly to create a flat, stable surface. Glue glass votive cups at even intervals along the wood. Surround the base of each votive cup by gluing a dense border of cowrie shells facing outward. Place citrus-scented tealights inside the glass holders.
- Styling Tip: Ideal as a low-profile centerpiece for long outdoor patio dining tables.

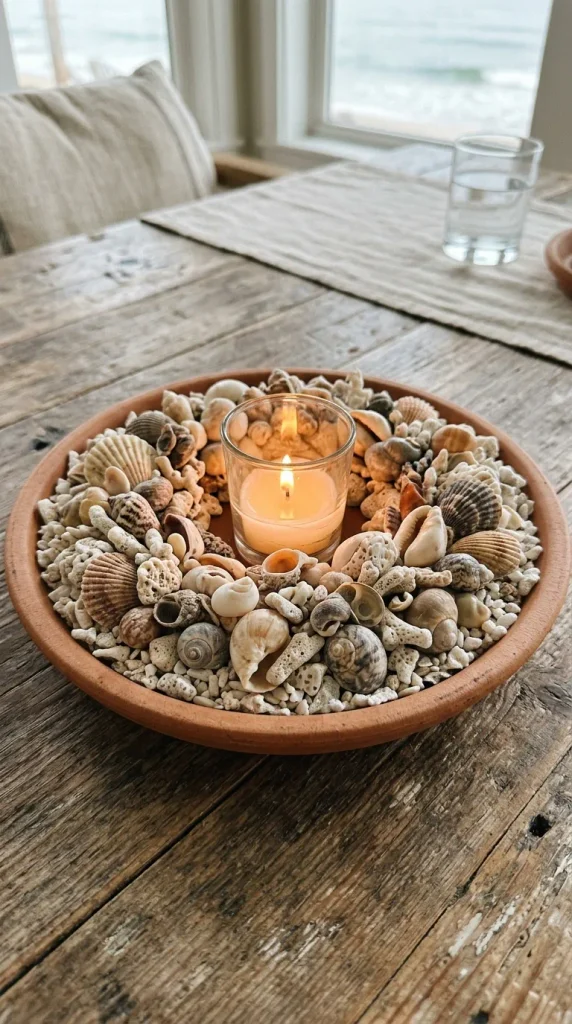
9. Terracotta Saucer Shell Wreath Ring
Create a circular frame of textured shells around a central glass tumbler to shield delicate flames from summer drafts.
- Materials: 6-inch terracotta plant saucer, central glass votive cup, mixed shells (turbans, murex, augers), hot glue gun, soy votive candle.
- How to Make: Glue the glass votive cup dead-center into the shallow terracotta saucer. Cover the remaining saucer surface by layering shells tightly in circular patterns, starting with larger pieces on the outside edge and filling gaps with smaller shells and crushed coral. Place a fresh votive candle inside the protected glass insert.
- Styling Tip: Paint the terracotta saucer crisp white or leave it raw for an earthy, Mediterranean look.

10. Conch Shell Sculptural Hollow Candle
Use a naturally hollow, statement-sized spiral conch or whelk shell as a freestanding, organic sculpture.
- Materials: Large conch or whelk shell (minimum 6–8 inches long), soy container wax, double wick setup, wick centering sticks.
- How to Make: Ensure the shell rests steadily on a flat surface without tipping (sand the bottom ridge slightly if necessary). Position two evenly spaced wicks inside the natural opening. Slowly pour melted, scented soy wax directly into the shell’s chamber, leaving the delicate spiraled lips exposed. Allow the wax to set for 48 hours before lighting.
- Styling Tip: Showcase this piece as a standalone focal point on a coffee table or open bookshelf.

Essential Candle Safety Tips
- Never burn on bare wood: Always place DIY seashell candles on heat-resistant trays, coasters, or stone runners.
- Trim wicks regularly: Keep wicks trimmed to 1/4 inch before every burn to prevent soot buildup and uneven wax pooling.
- Supervise open flames: Never leave lit candles unattended, and keep them clear of fluttering curtains, drafts, and patio breezes.
Leave a Reply