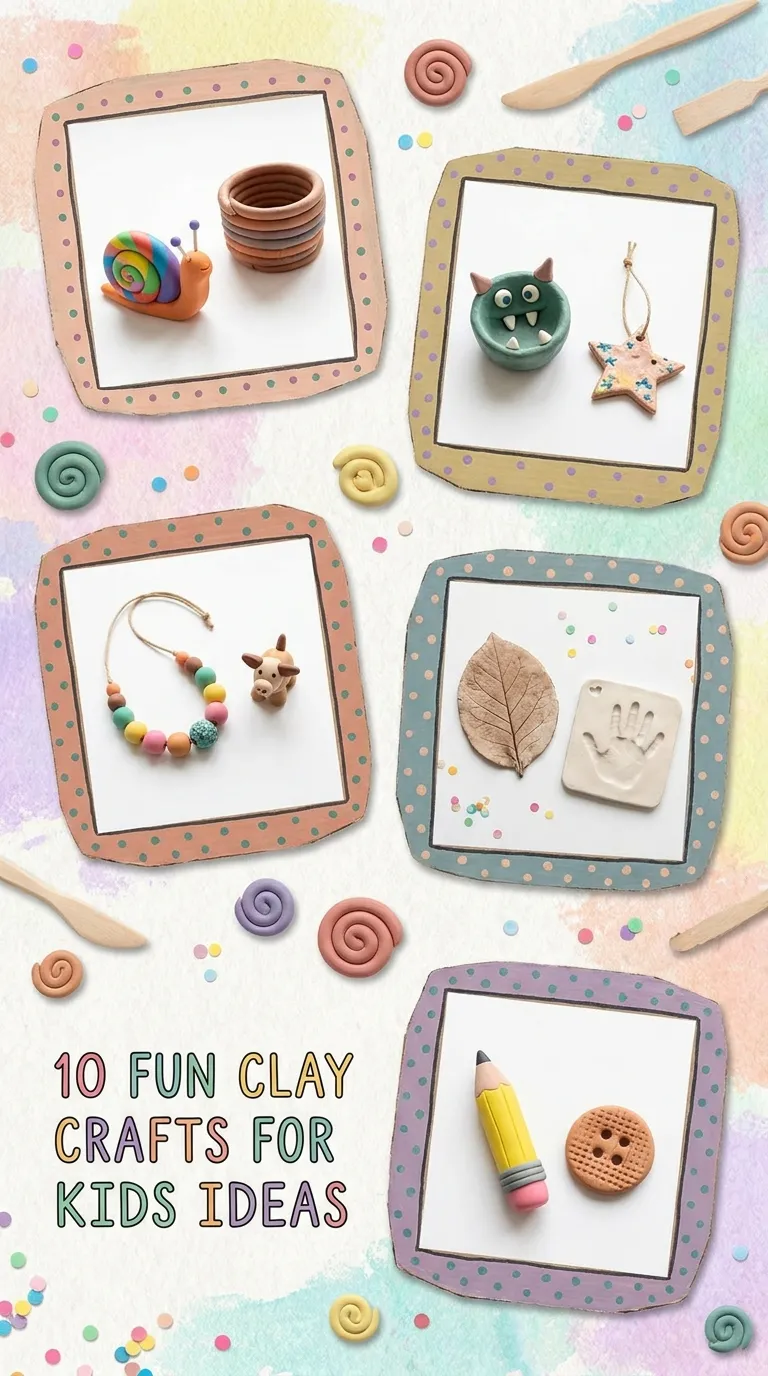
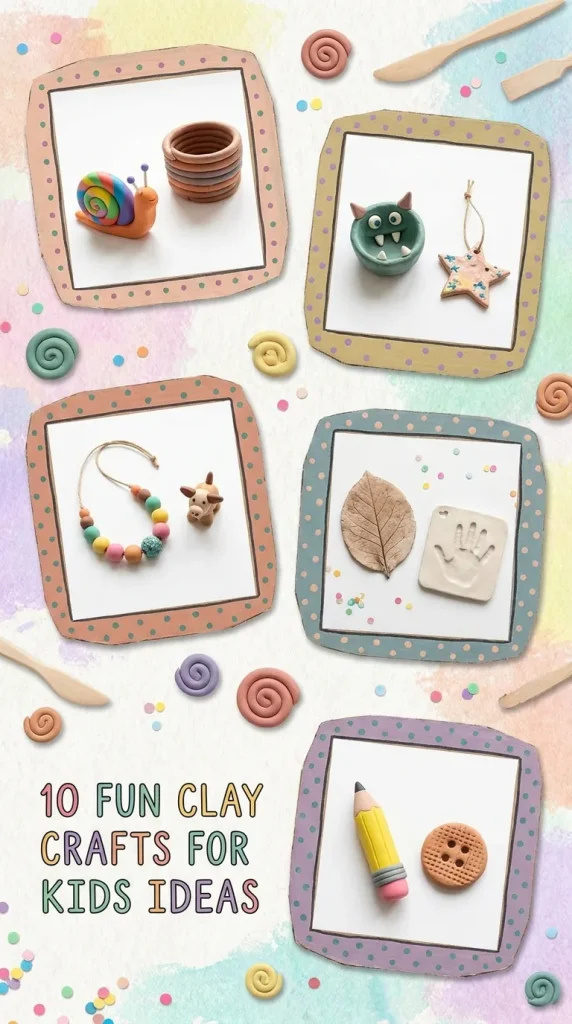
Squishy, colorful, and endlessly versatile, clay is the ultimate playground for a child’s imagination. Beyond the sheer joy of squishing it between their fingers, crafting with clay helps kids develop fine motor skills, spatial awareness, and hand-eye coordination. Whether they are using classic playdough, air-dry clay, or colorful polymer clay, the possibilities are entirely limitless.
If you are looking for ways to keep your little ones entertained on a rainy afternoon or looking to host a creative crafting session, here are 10 fun, easy, and engaging clay craft ideas for kids that will spark their creativity.
1. Miniature Clay Monsters
There are absolutely no rules when it comes to making monsters, which makes this the perfect icebreaker craft for younger kids. Using vibrant colors like neon green, bright purple, and fiery orange, children can roll out a base body shape—whether it is a simple ball, a lumpy blob, or a tall cylinder.
From there, they can let their imaginations run wild. They can add five eyes, twisty horns, polka-dotted tentacles, or giant open mouths filled with tiny white clay teeth. Using a toothpick, they can poke textures into the skin to give their monsters fur or scales.

2. Colorful Pinch Pots
A pinch pot is a timeless introduction to pottery. It teaches children the foundational basics of shaping clay while giving them a functional item they can actually use afterward.
To start, have your child roll a piece of air-dry clay into a smooth ball about the size of a lemon. Next, they will press their thumb deep into the center, leaving a thick bottom. Using their thumb and fingers, they gently pinch the walls of the clay upward and outward while rotating the ball. Once the bowl shape is formed, it can be left to dry. Afterward, kids can paint the inside and outside with acrylic paints, turning them into perfect little dishes for holding jewelry, coins, or paperclips.

3. Fingerprint Clay Beads
Making beads is a fantastic way for kids to create wearable art. Children can roll small pieces of different colored polymer or air-dry clay into little spheres. To make them truly unique, they can gently press their fingerprint onto the surface of each bead.
Before the clay hardens, use a plastic straw or a wooden skewer to poke a clean hole straight through the middle. Once cured or dried, these custom beads can be strung onto colorful elastic cords to make personalized bracelets, necklaces, or even keychains for family and friends.

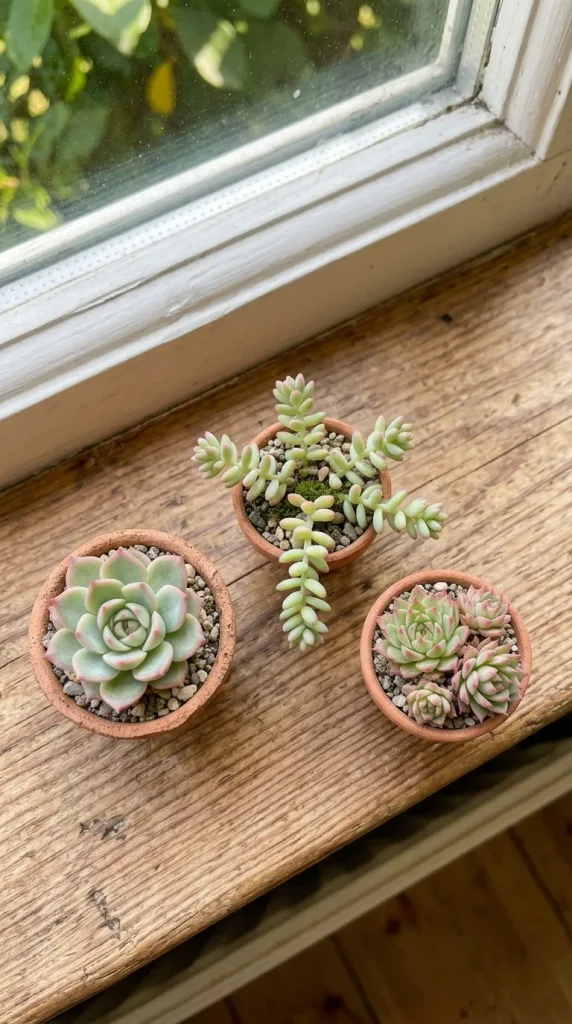
4. Cute Clay Succulents
For older kids who enjoy a bit more detail, crafting miniature succulents is an incredibly rewarding project. They can start by shaping a tiny, rustic pot out of brown or terracotta-colored clay.
Next, using various shades of green, mint, and soft pink, they can roll out tiny teardrop shapes. Flattening these teardrops slightly creates realistic plant petals. By layering these petals in a concentric circle inside the tiny pot, a beautiful, unkillable little succulent blooms right before their eyes.
5. Fridge Magnet Critters
Turn the kitchen refrigerator into an art gallery with custom clay magnets. Kids can flatten small pieces of clay into disks or specific shapes like ladybugs, bumblebees, stars, or smiling suns.
Once the base shape is sculpted and dry, they can paint on the finer details, like a ladybug’s spots or a bee’s stripes. Finish the project by gluing a sturdy craft magnet to the flat backside. It is a wonderful way for kids to see their artwork displayed functionally every single day.

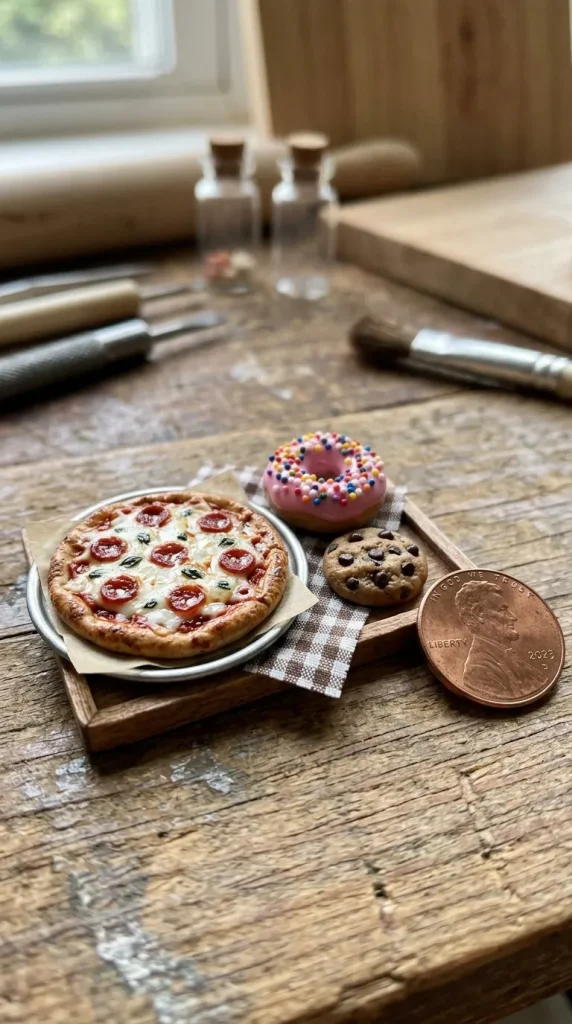
6. Miniature Food Platters
Kids love everything miniature, and crafting a tiny feast is a guaranteed hit. Polymer clay works beautifully for this because of its vibrant, pre-mixed colors.
Children can sculpt tiny pizzas complete with red pepperoni slices, little green bell peppers, and yellow cheese. Alternatively, they can create a bakery assortment featuring miniature frosted donuts, tiny chocolate chip cookies, and braided bread loaves. Using a toothbrush to texture the pastry surfaces adds a surprisingly realistic touch.
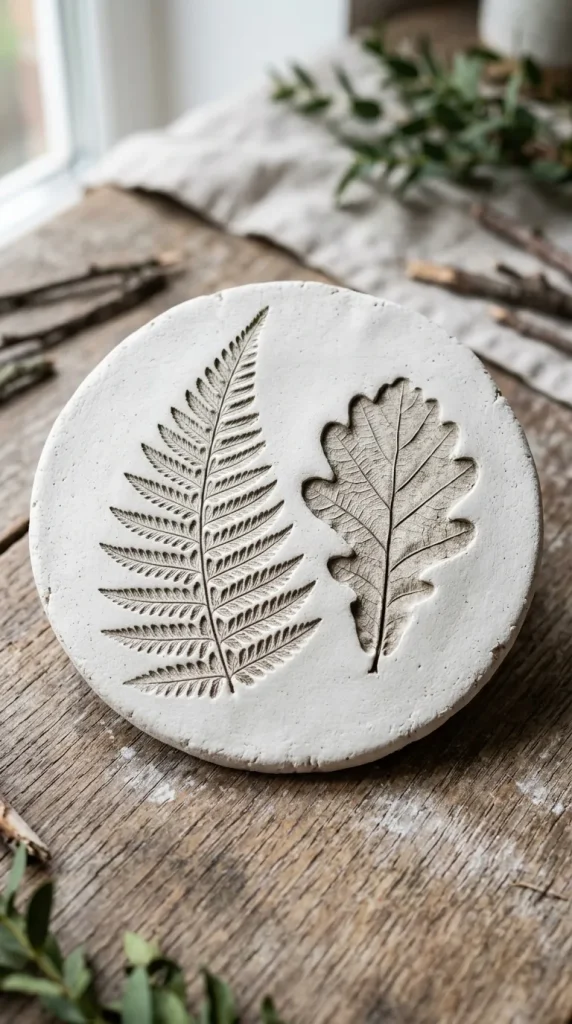
7. Textured Nature Impressions
This craft perfectly combines an outdoor adventure with an indoor art session. Take a quick walk outside to gather textured natural elements like ferns, deeply veined leaves, pinecones, and small twigs.
Back at the crafting table, roll out a flat slab of air-dry clay using a rolling pin. Have your child place their gathered treasures onto the clay and gently roll over them once more. When they peel the leaves and ferns away, they will be left with stunning, intricate impressions of nature. These slabs can be cut into circles or squares to create beautiful wall hangings or coasters.
8. Personalized Name Plaques
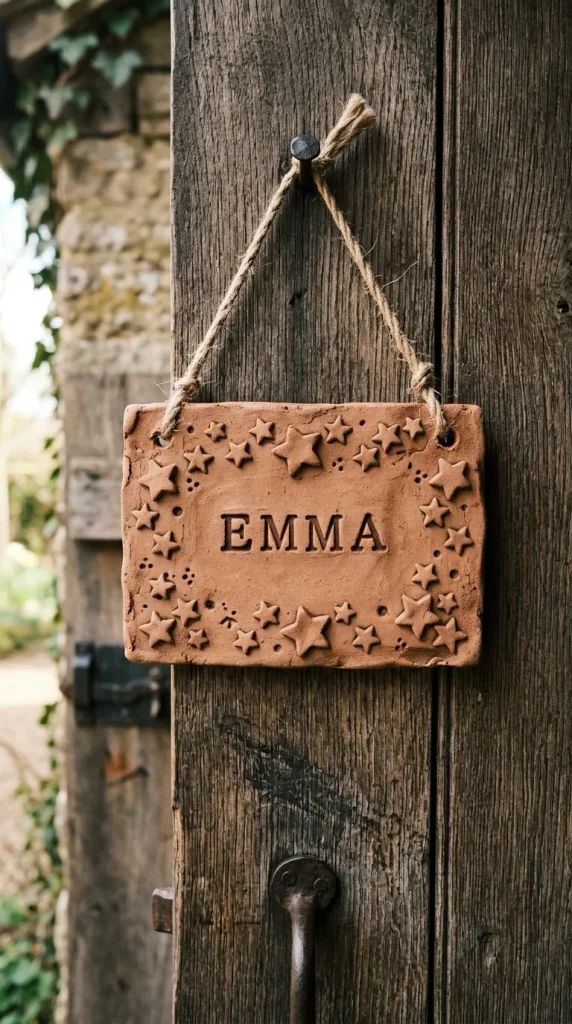
Perfect for bedroom doors, a custom name plaque lets kids claim their personal space. Help your child roll out a thick, flat rectangle or oval of clay.
Using letter stamps or a pointed tool like a dull pencil, they can carefully press their name into the center. The surrounding border can be decorated with small clay flowers, stars, or etched patterns. Don’t forget to poke two holes at the top before drying so a ribbon can be threaded through for easy hanging.
9. Animal Pencil Toppers
Brighten up schoolwork by creating custom pencil toppers. Kids can take a small ball of clay and gently press it onto the eraser end of a standard pencil to mold the base socket.
From there, they can turn the top into their favorite animal head—a pink pig, a roaring lion, a cute panda, or a mystical unicorn. Ensure the clay isn’t molded too tightly to the pencil so it can be easily slipped off if using bake-able clay, or left to dry directly on a sacrificial pencil if using air-dry clay.

10. Glowing Clay Lanterns
This project creates a beautiful nightlight decoration. Using a clean glass jar or a small inflated balloon as a temporary mold, kids can wrap a rolled-out sheet of air-dry clay around the structure.
Before the clay sets, use small cookie cutters or straws to punch out various shapes—like stars, crescent moons, or hearts—all over the surface. Once the clay completely dries and is removed from the mold, place a battery-operated LED tealight candle inside. The light will cast beautiful, glowing shapes across the walls of a dark room.

Leave a Reply