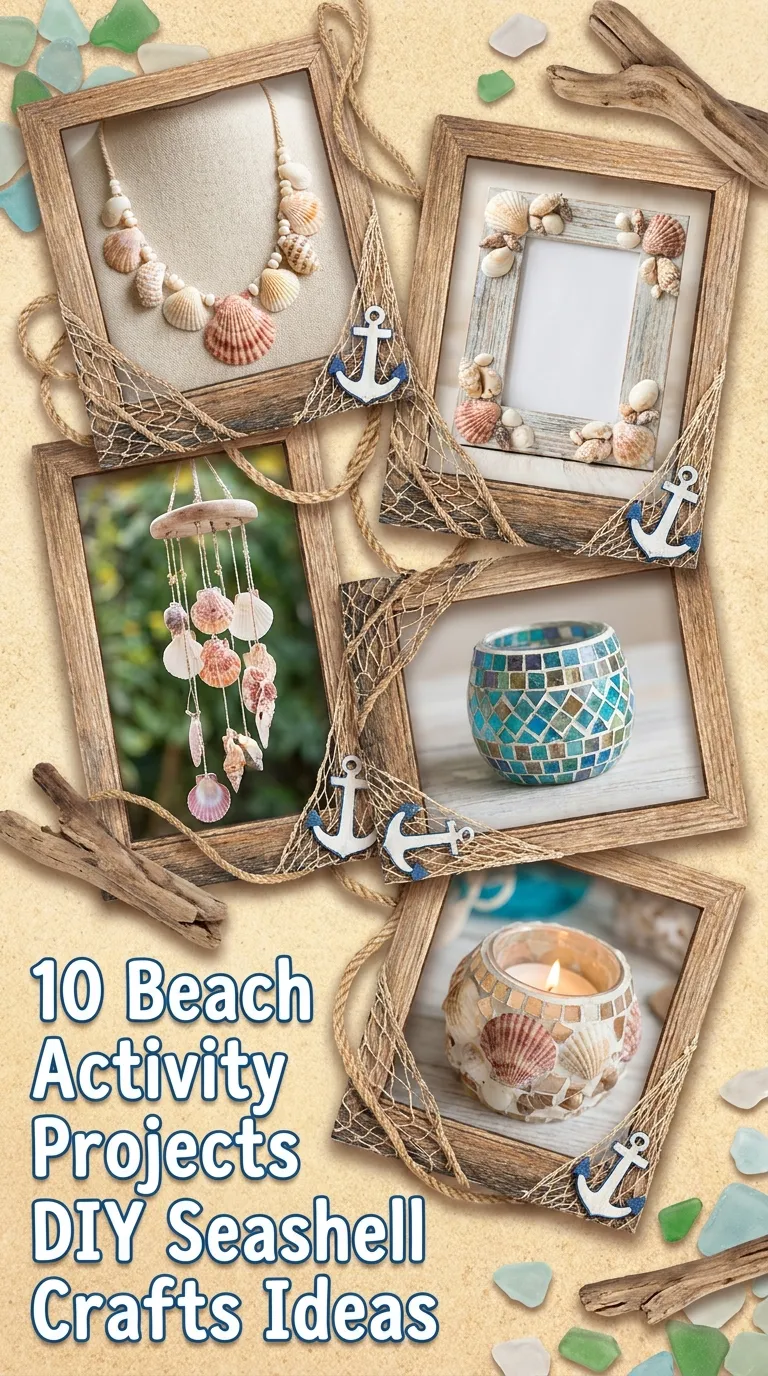
There is a timeless magic to strolling along the tide line, searching for smooth sea glass and unique shells scattered across the sand. Each shell carries a story of the ocean, but far too often, these treasures end up stored away in plastic bags or forgotten at the bottom of a suitcase. Transforming your beach finds into creative DIY seashell projects is the best way to bring that relaxed, coastal charm into your daily life.
Crafting with seashells is not only an enjoyable activity for lazy beach days or quiet weekends at home, but it also provides a wonderful, tactile way to preserve travel memories. Whether you are crafting with kids or designing elevated coastal decor for your home, here are 10 inspiring beach activity projects and DIY seashell craft ideas to bring the spirit of the ocean indoors.
1. Hand-Painted Decoupage Shell Dishes
Large clam or scallop shells make perfect natural dishes for holding rings, keys, or small trinkets. Decoupage allows you to apply intricate floral or beach-themed patterns onto the inner curve of the shell without needing advanced painting skills.
- How to Make It: Apply a thin layer of Mod Podge to the interior of a clean shell. Carefully lay down a patterned paper napkin (with the backing layers removed), smoothing out any air bubbles with a soft brush. Once dry, seal the edges with gold metallic liquid leaf paint for an elegant, polished finish.

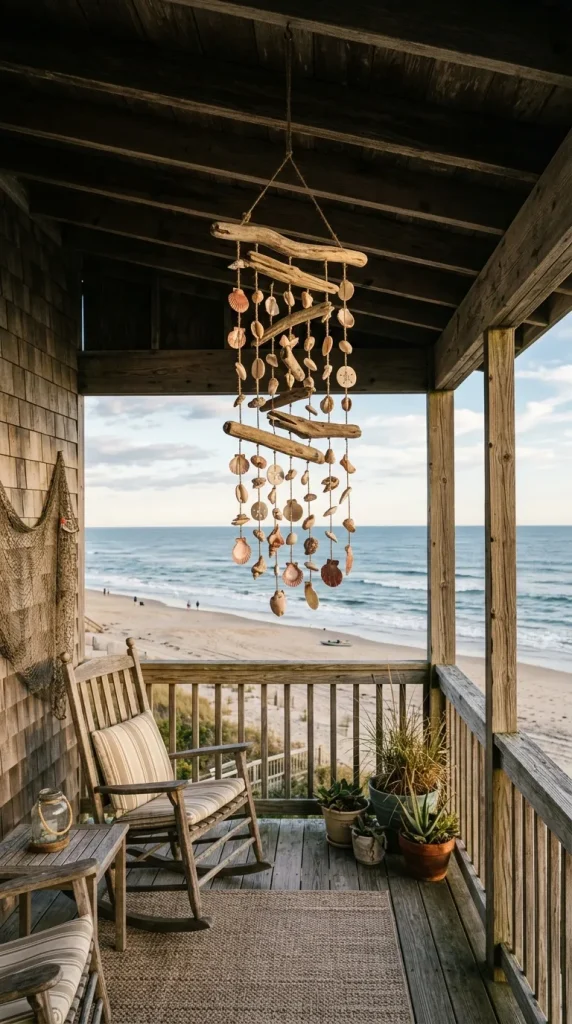
2. Driftwood & Seashell Wind Chimes
Bring the soothing sound of coastal breezes to your patio or garden with a handmade wind chime. This project combines smooth weathered driftwood with thin, lightweight shells that produce a gentle clinking sound when swayed by the wind.
- How to Make It: Drill small holes into a sturdy piece of driftwood and your selected shells (using a micro drill bit). Thread clear fishing line or durable jute twine through the shells, securing each one with a firm knot. Tie the finished strands along the driftwood at alternating lengths to create balance and movement.
3. Coastal Seashell Mosaic Picture Frame
Transform a plain wooden picture frame into a textured seaside centerpiece. This project works well with shells of all shapes and sizes, making it an excellent activity for using up mixed beach finds.
- How to Make It: Sand the surface of an inexpensive wooden frame. Arrange your shells on the table first to plan your pattern. Using a hot glue gun or strong craft adhesive, attach the largest shells around the outer border first, then fill in the gaps with smaller spiral shells, sea glass, and fine beach sand.

4. Pour-Poured Seashell Soy Candles
Large, deep shells—such as quahog, oyster, or large scallop shells—serve as organic, heat-resistant vessels for handmade soy candles. They bring warmth and gentle ambient lighting to dining tables and outdoor patios.
- How to Make It: Place a small candle wick at the deepest point of the shell, securing its base with a drop of hot glue. Melt natural soy wax flakes in a double boiler, adding a few drops of beachy essential oils like coconut or ocean breeze. Pour the liquid wax into the shells and let them set completely.

5. Seashell Topiary Ball
For a modern, sophisticated decor piece, a seashell topiary offers clean geometry combined with natural texture. Placed on a mantel or used as a table centerpiece, it adds structured elegance to any room.
- How to Make It: Take a smooth styrofoam sphere and paint it a neutral sand or off-white color. Starting from the middle ring, glue flat white or beige shells edge-to-edge using a hot glue gun. Work your way around the sphere until the surface is completely covered, keeping gaps to a minimum.

6. Resin Seashell & Sand Coasters
Preserve your ocean treasures forever in clear epoxy resin. Resin coasters freeze the natural look of wet sand and shells in time, making them both durable and eye-catching for functional home decor.
- How to Make It: Place silicon coaster molds on a flat surface. Pour a thin base layer of mixed epoxy resin, sprinkle fine white sand along one edge, and embed small shells and sea glass. After letting the base layer set slightly, pour a clear top layer of resin to encapsulate everything smoothly.

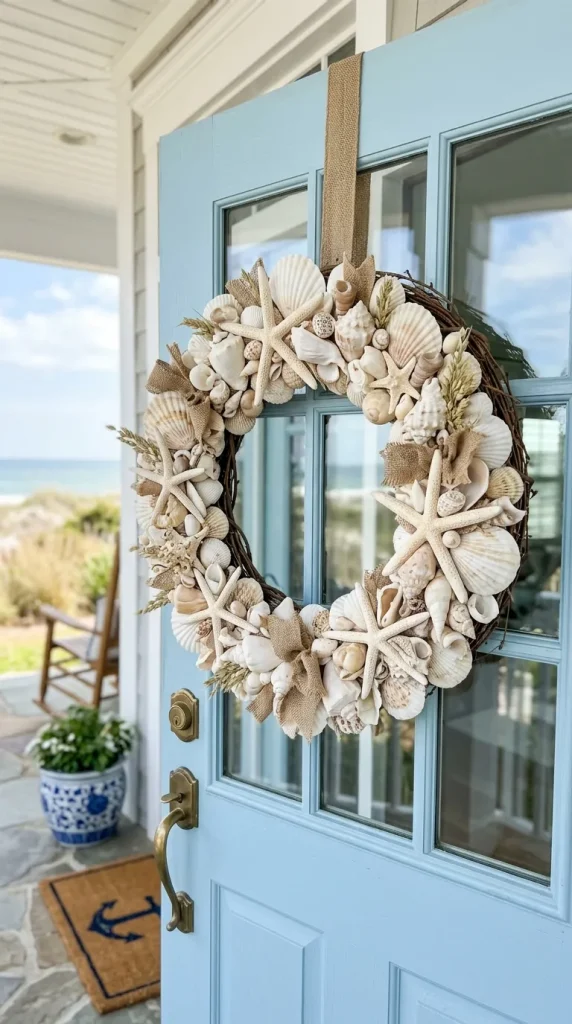
7. Natural Seashell Door Wreath
A seashell door wreath offers a warm coastal greeting to guests. Built on a sturdy rattan or grapevine base, this project creates a striking visual statement using monochromatic or color-coordinated shells.
- How to Make It: Wrap a foam or grapevine wreath form in burlap ribbon for texture. Glue large, structural shells around the form as the focal points. Fill the surrounding areas with clusters of smaller shells, preserved sea oats, or dried star anise to create depth and contrast.
8. Ocean-Inspired Shell Jewelry
Small, intact shells like mini cowries, tiny augers, or spiral snails can be transformed into delicate earrings, pendants, and charm bracelets.
- How to Make It: Gently drill a tiny hole near the edge of each small shell using a handheld jewelry drill. Attach jump rings through the holes and connect them to earring hooks, dainty chain necklaces, or braided cord bracelets. Apply a coat of clear nail polish to give the shells a high-shine finish.

9. Monogrammed Seashell Wall Art
Monogram art adds a personalized touch to bedrooms, nurseries, or entryways. Using collected shells to spell out a family initial creates a meaningful keepsake from a memorable beach trip.
- How to Make It: Draw or print your chosen letter onto thick cardstock or a wrapped canvas board. Carefully select shells that fit within the outline of the letter. Glue the shells down, layering them slightly to give the initial a dynamic 3D relief effect.

10. Seashell Plant Markers for Coastal Gardens
Combine beachcombing with gardening by converting large flat shells into rustic, weatherproof plant labels for herbs and garden flowers.
- How to Make It: Clean large, flat shells thoroughly. Paint the plant names onto the smooth outer surface using outdoor acrylic paint or oil-based paint pens. Once dry, seal the painted design with a clear waterproof varnish and attach a wooden stake or wire stick to the back.

Leave a Reply