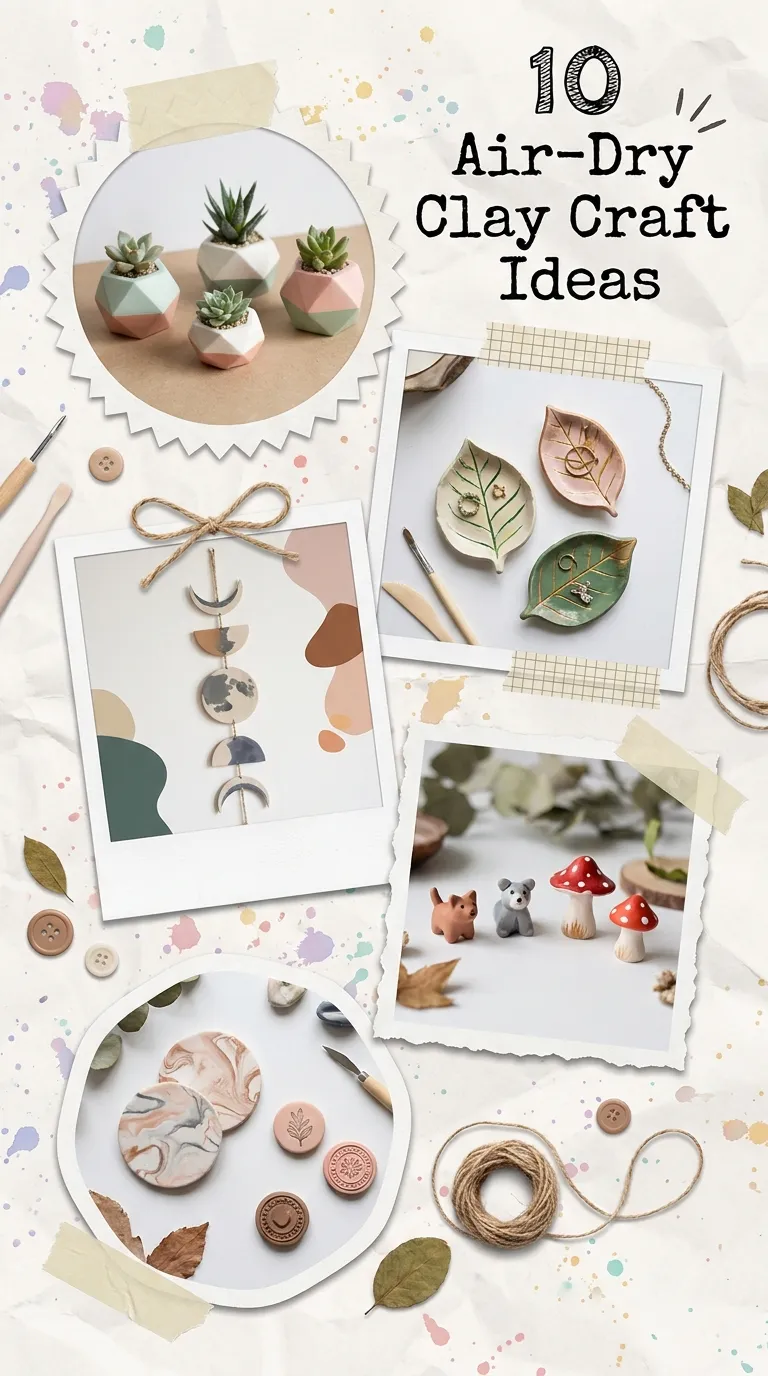
In a world increasingly dominated by screens and digital spaces, there is something profoundly grounding about working with your hands. Clay modeling, an ancient art form, has found a modern, accessible renaissance in air-dry clay. Unlike traditional ceramic clay, which requires a specialized kiln and intense heat to cure, air-dry clay hardens naturally at room temperature over 24 to 48 hours. It is forgiving, inexpensive, and incredibly versatile, making it the perfect medium for beginners, hobbyists, and seasoned crafters alike.
Whether you are looking to spruce up your home decor, create personalized gifts, or simply enjoy a relaxing afternoon of tactile crafting, air-dry clay offers endless possibilities. Below, we explore ten creative, small-scale air-dry clay ideas that you can easily replicate at home, along with tips to ensure your crafting session is a success.
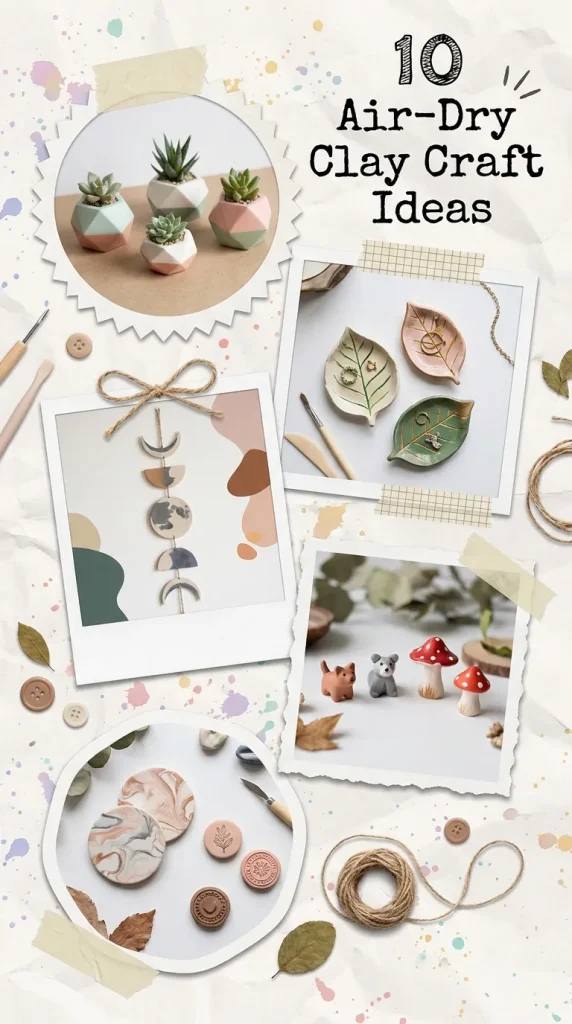
1. Minimalist Trinket Dishes
One of the most popular entry-level clay projects is the classic trinket dish. These small bowls are perfect for holding rings, keys, or loose change.
- How to make it: Roll out a small ball of clay to a thickness of about a quarter-inch. Use a cookie cutter or a small glass to stamp out a perfect circle. Gently press the clay circle into a small kitchen bowl to give it a curved shape. Once dry, you can paint it with acrylics—monochrome pastels or a simple white base with a metallic gold rim look incredibly elegant.

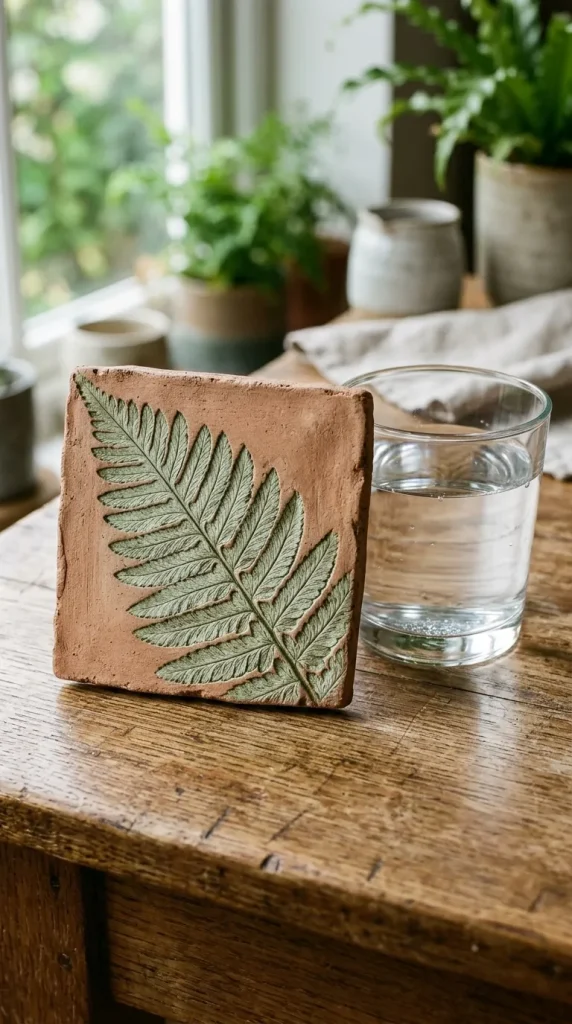
2. Botanical Imprinted Coasters
Bring a touch of nature indoors by capturing the intricate textures of flora in clay.
- How to make it: Roll out your clay into a flat sheet. Gather fresh leaves or sturdy herbs like rosemary or fern fronds from your garden. Lay the plants onto the clay and roll over them firmly with a rolling pin to embed the texture. Carefully peel the foliage away, cut the clay into squares or circles, and let them dry. A light coat of watercolor or watered-down acrylic paint will pool into the crevices, beautifully highlighting the natural veins of the leaves.
3. Geometric Incense Holders
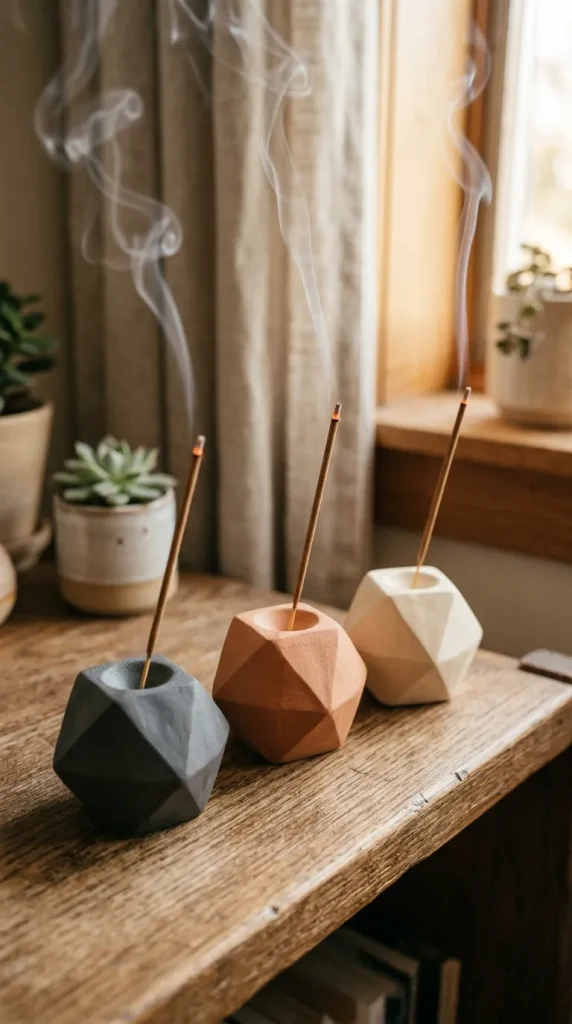
Incense holders are both functional and highly customizable to fit any interior design style.
- How to make it: For a modern, geometric look, shape your clay into a small block, pyramid, or cylinder. Use a craft knife to slice clean, angular facets into the sides. Before the clay begins to dry, use a toothpick or a wooden skewer to poke a small hole at an angle, ensuring it is deep enough to hold an incense stick securely.
4. Whimsical Plant Markers
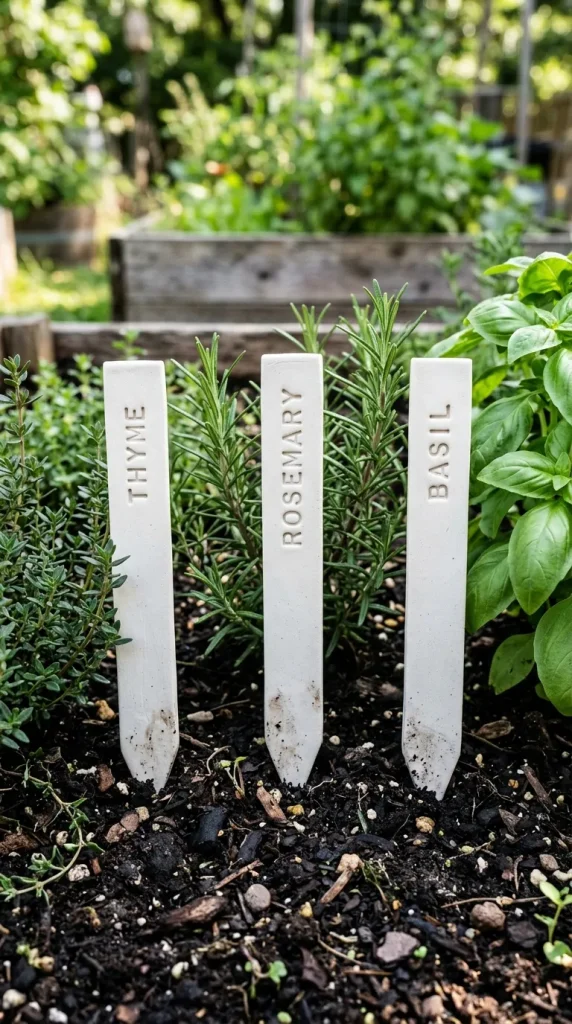
If you love gardening, custom plant markers are an excellent way to keep track of your herbs and seedlings while adding charm to your pots.
- How to make it: Roll out the clay and cut it into long, rectangular strips, tapering one end into a sharp point so it can easily pierce the soil. Use mini letter stamps to press the names of your plants (like “BASIL” or “MINT”) into the wet clay. Once dry, paint the stamped letters with a dark color to make them pop, and finish with a waterproof varnish to protect them from moisture.
5. Terracotta-Style Essential Oil Diffusers
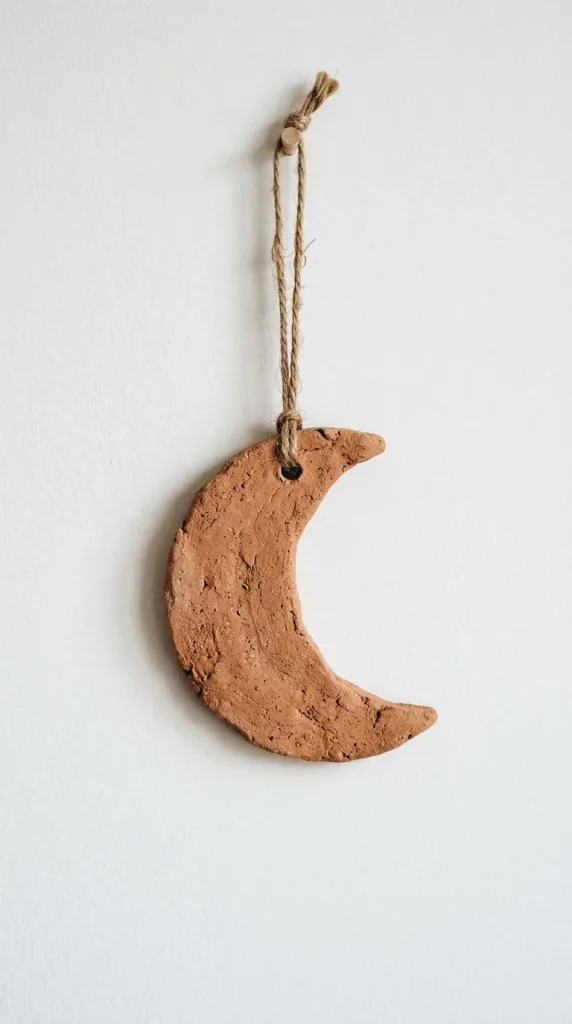
Air-dry clay is naturally porous, which means it can absorb and slowly release essential oils over time.
- How to make it: Roll out terracotta-colored air-dry clay and cut it into small shapes, such as stars, moons, or simple discs. Use a straw to punch a hole at the top of each piece so you can loop a piece of twine through it. Leave the surface unpainted and unsealed. Once completely dry, hang them in your closet or car and add a few drops of your favorite essential oil directly onto the clay.
6. Abstract Wall Hangings
Create your own statement art piece by assembling a mobile or wall hanging out of flat clay shapes.
- How to make it: Cut out various geometric shapes—半个月亮 (half-moons), circles, triangles, and arches. Remember to poke small holes at the top and bottom of each shape where they will connect to one another. After they dry and are painted, use jewelry jump rings or embroidery floss to chain the pieces together, then suspend the entire chain from a rustic wooden dowel.

7. Cute Cartoon Cable Protectors
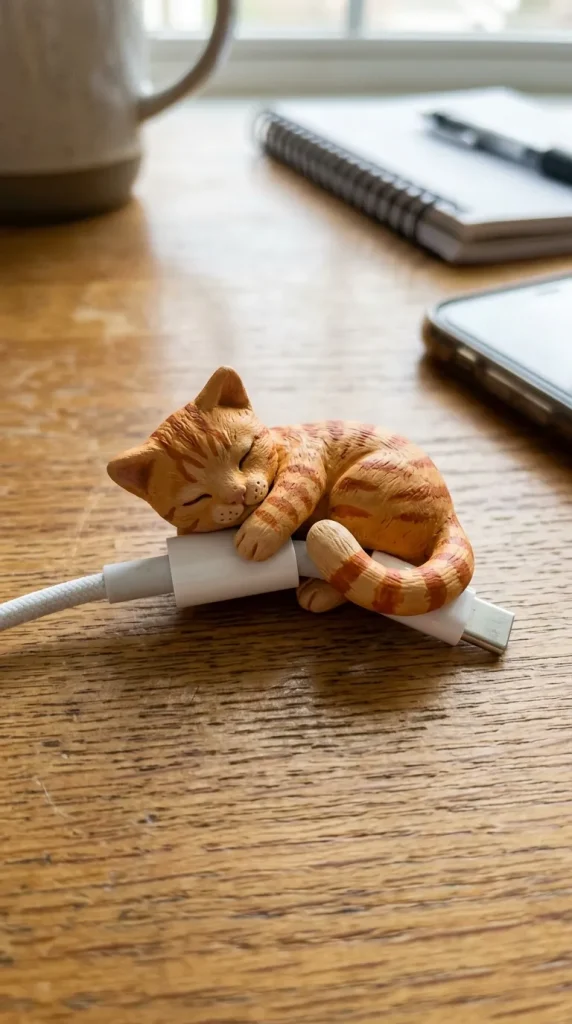
Tired of your charging cables fraying at the ends? You can fashion adorable, tiny animal or fruit shapes to wrap around your cords.
- How to make it: Mold a tiny character, like a sleeping cat or a little strawberry. Carefully slice a slit down the middle of the shape using a craft knife, ensuring it goes halfway through. Once the clay dries, you can slide the protector onto the wire, providing structural support to the bendable joint of the cable while adding a splash of personality.
8. Sculpted Fridge Magnets
Miniature sculptures make fantastic three-dimensional magnets for your kitchen.
- How to make it: The key here is keeping the shapes relatively flat and lightweight so they don’t slide down the refrigerator door. Sculpt tiny items like miniature coffee mugs, avocados, or abstract faces. Once painted and sealed, use a strong adhesive (like super glue) to attach a heavy-duty neodymium magnet to the back.

9. Scalloped Candle Bobeches or Holders
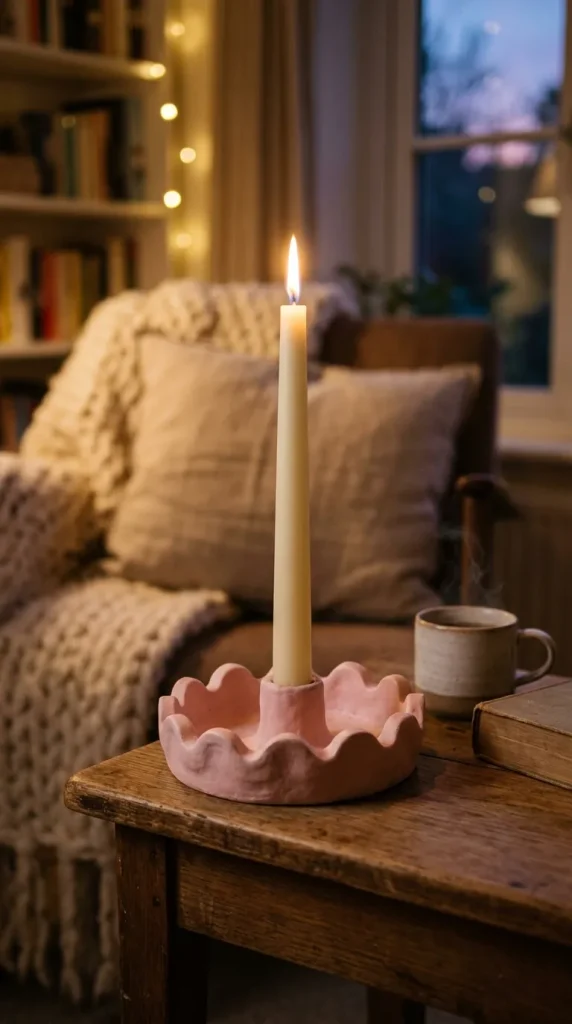
A bobeche is a small collar that sits at the base of a taper candle to catch dripping wax, but you can also make small, standalone pillar holders.
- How to make it: Mold a thick disc of clay and press a real taper candle into the center to create a perfectly sized indentation. Use your thumb and forefinger to pinch the outer edges of the disc outward, creating a beautiful, trendy scalloped border.
10. Textured Keychain Fobs
Personalized keychains are quick to make and serve as wonderful, thoughtful gifts.
- How to make it: Roll out a small piece of clay and cut it into an elongated oval or rectangle. To add texture, press everyday household objects into the surface, such as a piece of coarse sandpaper, a textured button, or a piece of lace. Punch a hole at the top for a keyring. After painting, coat it in a thick layer of epoxy resin or polyurethane varnish to ensure it can withstand the daily wear and tear of being in a pocket or bag.

Pro-Tips for Working with Air-Dry Clay
To ensure your projects turn out beautifully, keep these fundamental tips in mind:
- Prevent Cracking: Air-dry clay shrinks slightly as the water evaporates. If it dries too quickly, it can crack. Keep your working pieces away from direct sunlight or heaters while drying. If you notice small cracks forming while sculpting, smooth them out with a damp fingertip.
- Storage: Wrap any unused clay tightly in plastic wrap and store it in an airtight container with a damp paper towel to prevent it from hardening between crafting sessions.
- Sealing: Air-dry clay is not waterproof. To protect your creations from moisture and dust, always seal them with a clear acrylic sealer, mod podge, or resin once the paint is completely dry.
Leave a Reply